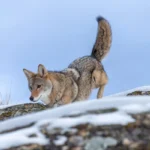
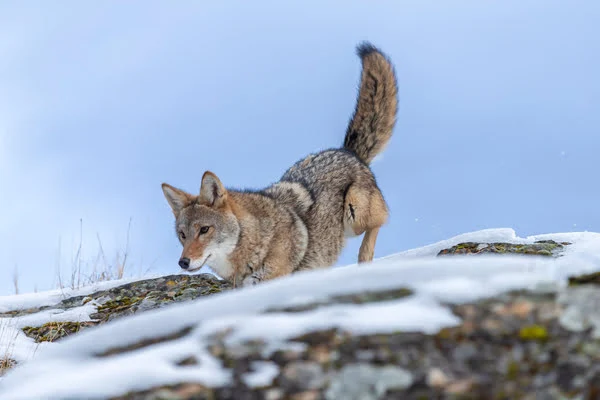
If you’ve trapped or hunted a coyote, or even found a roadkill coyote, you should try saving its tail – it’s simple enough to do and worth it.
The bushy, light fur of a coyote’s tail makes for a great hunting trophy or can be used to create the fluffy trim on a winter coat.
Below I will teach you how to preserve a coyote tail.
Table of Contents
- How to Preserve a Coyote Tail
- What If Fur Starts Falling Out Of The Tail?
- Final Thoughts
- Related Posts
How to Preserve a Coyote Tail
Here’s an easy way to preserve a coyote tail.
You’ll need:
- A sharp knife
- Two small sticks or screwdrivers
- Lots of salt
- A wide straw
- Tanning oil (optional for a nicer result)
First, remove the tail from the coyote:
1) With a knife, carefully cut the base of the tail around the bone. Cut a full circle around the base, cutting through the skin, not the tendons or the bone.
Tip: wear gloves while you handle the coyote’s body – it’s best not to touch it with bare hands to prevent the risk of infection from parasites.
2) While another person holds the body of the coyote tightly, place the two sticks (or screwdrivers) at the base of the tail on either side, sandwiching the tail between the two sticks. They should be placed right where the cut was made.
If you don’t have a helper on hand, you can do this by yourself, but it will be trickier. You will have to firmly hold the coyote’s body down with your foot while you pull the tail.
3) Pull the sticks towards you (towards the end of the tail). It will be tough at first – the tail will seem stuck on the bone, but after a few tries and some elbow grease, you should be able to slide it off the bone completely.
Now that the tail is removed, dry it with salt:
4) Insert a wide straw into the hole where the tailbone used to be. Pour salt into the straw, then pull the straw out, filling the tail completely with salt. Use a long stick to push the salt right to the bottom if needed.
At this point, the tail is easier to work with if you split it open down the middle and lay it flat. But if you want to keep the tail whole and round, use the straw method.
5) Let it dry for 2 days, then thoroughly rinse it out in a tub of warm water and salt (using a ratio of ⅓ cup of salt to 8 cups of water).
6) Soak the tail in this salt solution for 8 hours. Then rinse it again with water and soap before hanging it up to dry for a full day.
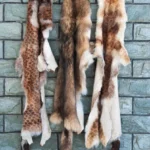
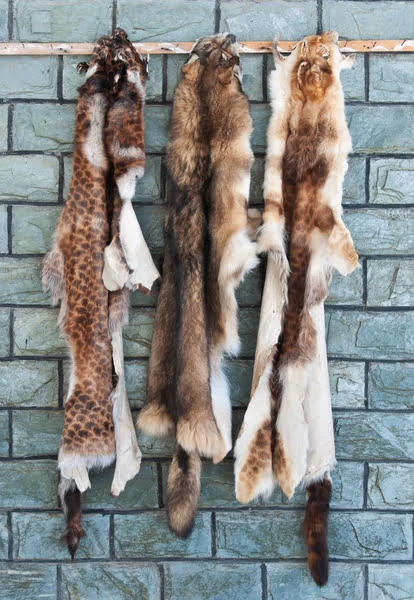
The tail should now last for several years as is.
You can also dry the tail out with borax instead of salt. But at this point, the tail will be stiff and won’t smell amazing.
To have a flexible tail that will last longer, continue by tanning it:
7) Apply tanning solution to the inside of the tail using the same straw technique as when pouring the salt into the tail (insert the straw into the hole in the tail, fill it with tanning oil, then pull out the straw). Let the tail rest with the tanning solution in it for 12-18 hours.
8) Rinse out the tanning solution with water. Wash the outside of the tail with both shampoo and conditioner and rinse well.
9) Blow-dry the fur outside as well as the inside of the tail until soft and dry.
You should now have a fluffy and flexible tail to display!
You May Also Like: How Much Do Coyote Pelts Sell For?
What If Fur Starts Falling Out Of The Tail?
If fur starts to fall out from the coyote’s tail, it means it’s already decomposing.
If the tail is not dried with salt and preserved quickly enough, bacteria will start eating it, causing hair loss.
There’s not much you can do after this point, so it’s important to process the coyote and preserve the tail as soon as you can.
Final Thoughts
Preserving a coyote tail is simple and only takes a few days and minimal supplies.
It can be as easy as drying the tail out with salt or borax – or, with a little more effort and some tanning oil you can make it into a soft and floppy tail that will look great as a display or used in clothing.