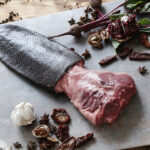
Is your freezer filled with different cuts of delicious venison just waiting to be thawed and enjoyed?
While you may prefer to thaw venison over the day in the fridge, sometimes you don’t have that kind of time and need your venison prepared in a pinch.
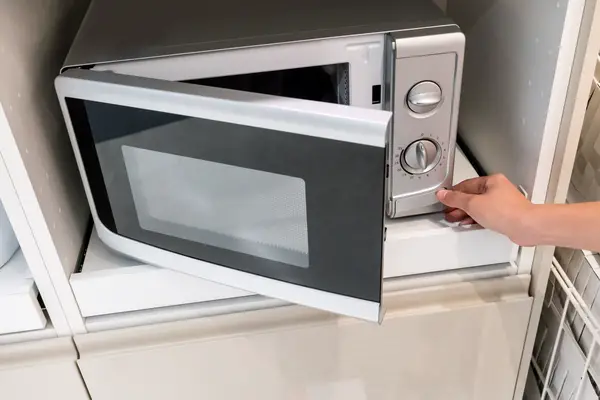
Thawing venison in the microwave is a quick way to get it ready for cooking. Here are a few tips on how to thaw venison in a microwave!
Table of Contents
How to Thaw Venison in a Microwave
Thawing venison in the microwave can cook the edges of the meat before the middle is thawed. It is important to thaw on a low defrost setting, continuously rotate, check often, and lean towards thawing for less time than you think.
Before the Microwave
In the freezer, you want to make sure the venison is properly wrapped in freezer-safe packaging to limit freezer burn and maintain its flavor and texture.
When it’s time to thaw, remove all plastic packaging before the microwave stage.
Place your unwrapped venison on a microwave-safe dish and get started!
In the Microwave
Now that you’re ready to microwave, there’re a few things to consider.
In the thawing steps, you should be very thorough, as it is usually not advised to eat raw venison, especially if it has been stored for a long period of time.
Make sure to use the proper defrost setting on your microwave. This mode slowly thaws the meat while not cooking it.
If your microwave does not have a defrost setting, you can adjust the power setting to about 20% or 30% power to limit how hot the meat gets.
The rotating plate in most modern microwaves allows dishes to cook or defrost more evenly. Without it, it’s possible for the venison to start cooking on the outer edges of the meat before the middle is defrosted.
If your microwave does not have this feature, you will need to stop defrosting and rotate the meat yourself.
You can do this every minute or so. Flipping the venison also helps with more even defrosting and limits exterior cooking.
It is even recommended to check on the venison about every minute, even if rotating. Keep an eye on how the venison thawing is going and see if it has started to cook around the edges. You can notice this if the edges are beginning to brown and harden.
You should take it out at this point. The less the venison cooks in the microwave, the better.
In most microwaves, defrosting venison should take about 7-8 minutes per pound. Since every cut and every microwave is different, that is why you should check often and take it out as soon as it’s thawed.
Preparing and Cooking
Venison thawed in the microwave should be prepared and cooked immediately after thawing.
Because the microwave introduces heat and partially cooks the meat, bacteria can begin to form if left at room temperature for too long.
According to the University of Minnesota, it is incredibly important to make sure that you are safely cooking venison. In doing so, you can actually improve the taste of the meat as well!
So once out of the microwave, proceed normally with how you’d like to prepare and cook your venison.
It is not safe to refreeze uncooked venison after thawing it in the microwave. Meat that has been thawed on the counter or in the microwave can develop bacteria, which can survive refreezing and be unsafe to eat.
One last thing to think about is that there may be differences in cooking and taste depending on the type of venison you are eating!
Conclusion
While there may be better ways to thaw venison that gives you more time and options, thawing in the microwave is a quick and effective way to get your venison ready to cook if you’re short on time.
It goes a long way to maintain quality and safety if you go slowly, rotate often, and cook immediately. If you follow these guidelines, thawing in the microwave can have you enjoying your delicious venison in a hurry!